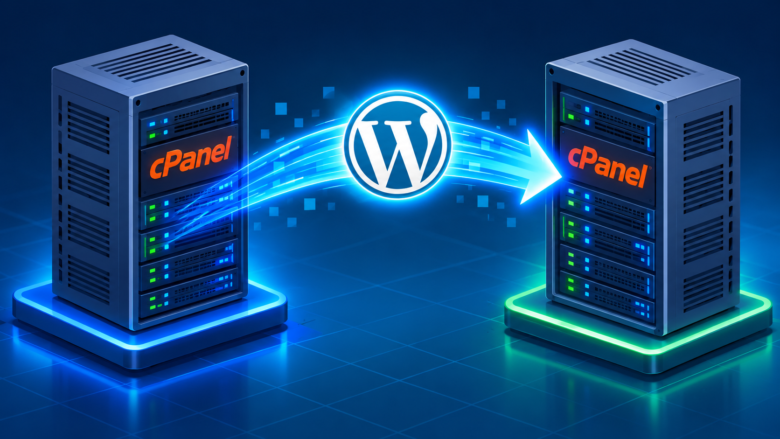
Migrating a WordPress website to a new hosting provider can feel like performing digital open-heart surgery. If you miss a single database table or misconfigure a file path, your site can go offline, displaying fatal errors to your visitors. However, if both your old hosting provider and your new hosting provider use cPanel—the industry standard for web hosting control panels—the process is incredibly straightforward.
While many hosting companies offer free automated migration, doing it manually gives you complete control, ensures no files are left behind, and teaches you the core mechanics of how WordPress operates. In this step-by-step guide, we will walk you through migrating your WordPress site between two cPanel accounts safely, with zero downtime.
The Pre-Migration Checklist
Before touching any files, you must prepare correctly to avoid data loss.
- Do not cancel your old hosting yet. Keep it active until the new site is fully live and tested.
- Lower your DNS TTL. Go to your domain registrar and lower the Time to Live (TTL) settings for your domain to 300 seconds (5 minutes). This ensures that when you finally point the domain to the new server, it updates quickly.
- Keep your login credentials handy. You will need the cPanel username and password for both the old host and the new host.
Step 1: Export the Database from the Old cPanel
WordPress is split into two halves: the physical files (images, themes, plugins) and the database (text, posts, user data, settings). We need to move both. Let’s start with the database.
- Log into your Old cPanel.
- Scroll down to the Databases section and click on phpMyAdmin.
- On the left sidebar, click on your WordPress database name (it usually looks like
username_wp123). - Click the Export tab at the top of the screen.
- Choose the Quick export method and ensure the format is set to SQL.
- Click Go. An SQL file will download to your computer. Keep this safe.
Step 2: Compress and Download Your Website Files
Next, we need to grab the physical files.
- In your Old cPanel, go to the Files section and click File Manager.
- Navigate to your website’s root directory. For primary domains, this is usually the
public_htmlfolder. - Click Select All to highlight all files and folders (wp-admin, wp-content, wp-includes, etc.).
- Right-click the highlighted files and select Compress. Choose Zip Archive as the compression type.
- Once the zip file is created, select it and click Download from the top menu. You now have a complete backup of your site.
Step 3: Upload Files to the New cPanel
Now we move over to your new hosting environment.
- Log into your New cPanel.
- Open the File Manager and navigate to the
public_htmlfolder (or the specific folder for your add-on domain). - Click the Upload button at the top and select the Zip archive you downloaded in Step 2.
- Once the upload hits 100%, go back to the File Manager.
- Right-click the uploaded Zip file and select Extract. Your WordPress files are now in place on the new server.
Step 4: Create a New Database and Import Data
The new server needs a database to hold the SQL file we downloaded earlier.
- In the New cPanel, go to MySQL Databases.
- Under “Create New Database,” type a name and click Create Database.
- Scroll down to “MySQL Users” and create a new user with a strong password. Write this password down.
- Scroll to “Add User to Database.” Select the user and database you just created, click Add, and check the box for All Privileges.
- Go back to the main cPanel screen and open phpMyAdmin.
- Select your newly created empty database on the left.
- Click the Import tab at the top, select the SQL file you downloaded in Step 1, and click Go. Your database is now populated.
Step 5: Update the wp-config.php File
Right now, your WordPress files on the new server are trying to connect to the old database. We need to update the configuration file with the new database details.
- In the New cPanel File Manager, locate the
wp-config.phpfile. - Right-click it and select Edit.
- Find the following lines and update them with the new database name, username, and password you created in Step 4:
define( 'DB_NAME', 'new_database_name_here' );define( 'DB_USER', 'new_database_username_here' );define( 'DB_PASSWORD', 'new_database_password_here' );
- Click Save Changes in the top right corner.
Step 6: Update DNS and Test
The final step is telling the internet that your website has moved.
- Log into your domain registrar (e.g., Namecheap, GoDaddy).
- Find the Custom Nameservers or DNS Management section.
- Replace the old nameservers with the nameservers provided by your new hosting company (e.g.,
ns1.newhost.com). - Save the changes.
Because you lowered the TTL earlier, the domain should point to the new server within a few minutes to an hour. Browse your website to ensure all pages load correctly and log into the /wp-admin dashboard to verify everything is functioning.
Conclusion
Manual cPanel migrations look intimidating, but they follow a highly logical sequence: move the database, move the files, connect them together, and point the domain. By mastering this process, you protect yourself from relying heavily on third-party migration plugins which can sometimes fail or timeout on large websites. Your WordPress site is now safely running on its new server.
Frequently Asked Questions
1. Will I lose my SEO rankings during a cPanel migration?
No. If you migrate the site keeping the exact same domain name and URL structure, and ensure there is no downtime (by leaving the old host active while the DNS propagates), search engines will not penalize you. The transition will be completely invisible to Google.
2. I get an “Error Establishing a Database Connection” after migrating. What did I do wrong?
This error means step 5 failed. The information inside your wp-config.php file on the new server does not perfectly match the database name, username, or password you created in step 4. Double-check for typos or accidental spaces in the code.
3. Do I need to change my Site URL in the database?
If you are moving a site from one host to another but keeping the same domain name (e.g., yoursite.com to yoursite.com), you do not need to change the Site URL. You only need to search and replace URLs in the database if you are changing the actual domain name during the migration.